
How to Sell
on Your Terms
This isn't your first rodeo, and selling a home for sale by owner isn't rocket science. Aloha My Home helps you prepare your property listing, manage showing availability, receive and review offers, negotiate terms, sign when ready, and track what needs to happen after offer acceptance.
Start with your listing. The platform guides you through next steps.
How does aloha My home work for sellers?
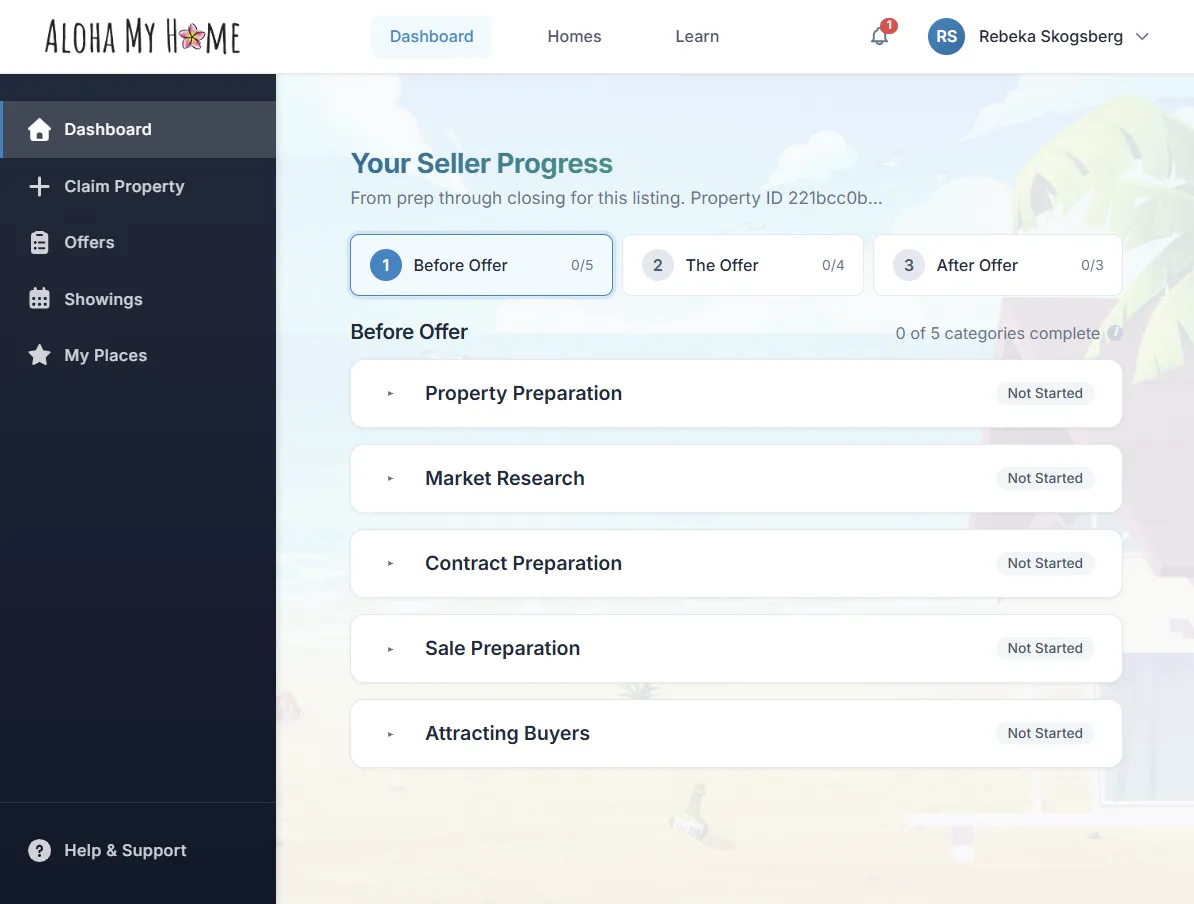
How to Sell in 3 Steps
While it's not rocket science, selling a home comes with a lot of moving parts. Aloha My Home organizes the process into three simple phases so you can see what to prepare, what to review, and what still needs to be completed before closing.
BEFORE THE OFFER
Step 1
Create your listing, add property details, upload photos, set showing availability, and prepare your seller tasks.
What We'll Do
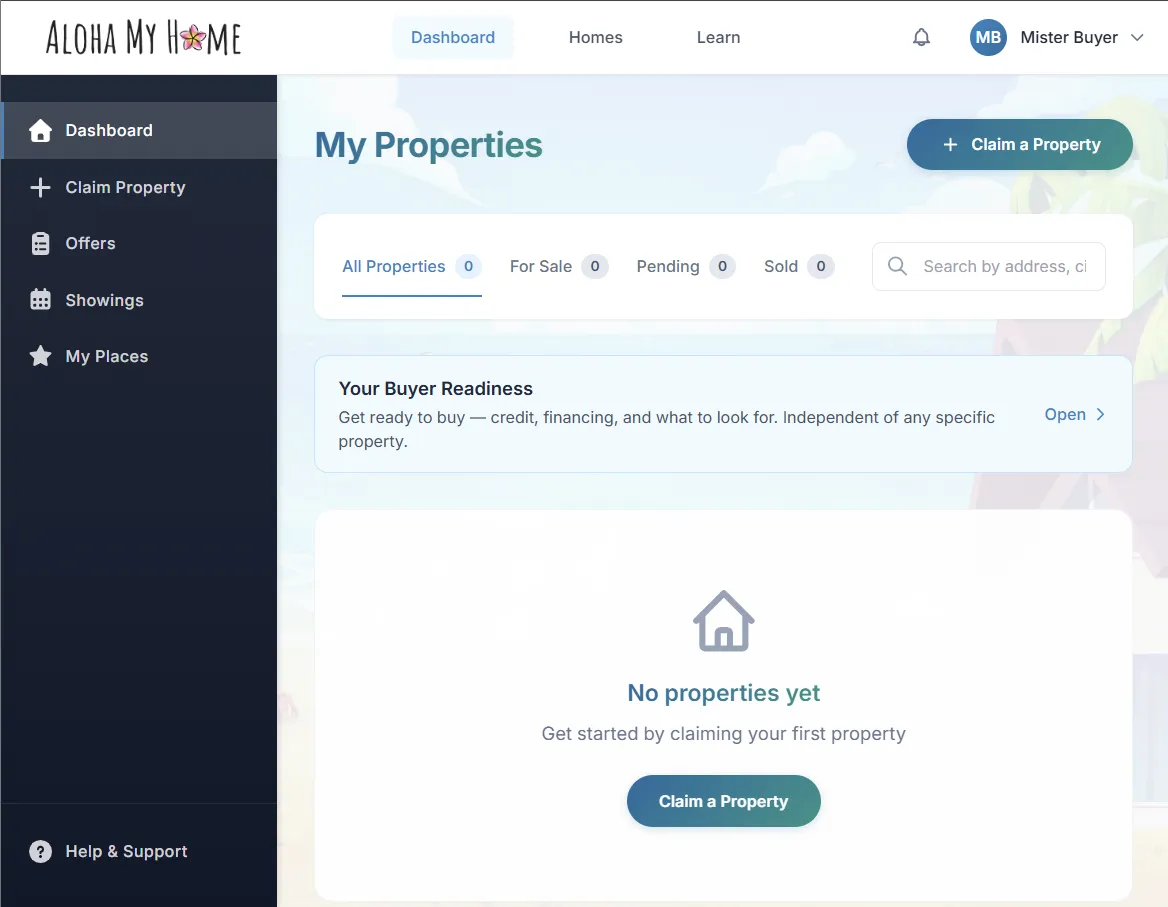
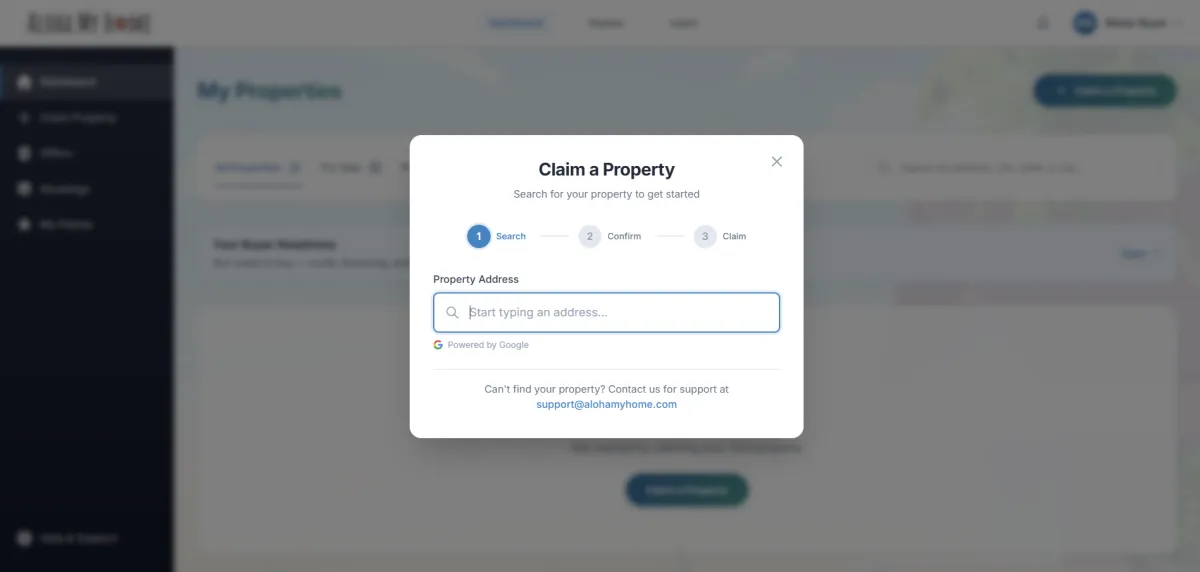
Claim property
Prepare property for sale
Publish listing
Set showings
THE OFFER
Step 2
Review buyer offers, compare terms, negotiate if needed, and sign when both sides agree.
What We'll Do
Review terms
Accept, reject, or counter offers
Negotiate
Sign electronically
after offer acceptance
Step 3
Monitor deadlines, respond to requests, complete seller tasks, coordinate settlement, and transfer possession.
What We'll Do
Track contingencies
Handle disclosures
Coordinate closing
Transfer possession
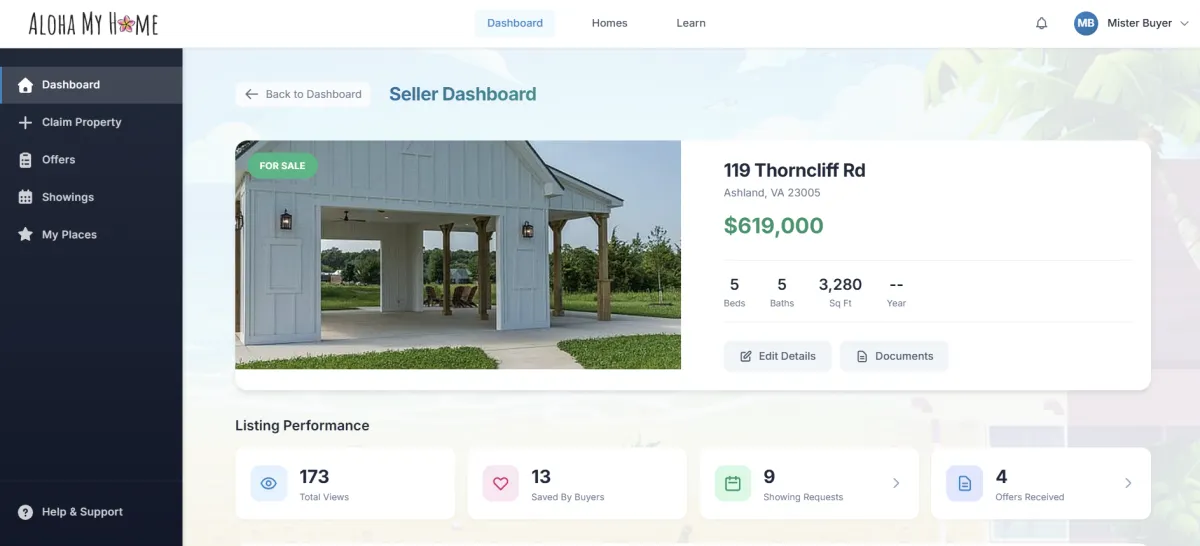
Step 1: Before the offer
Before a buyer submits an offer, we'll guide you through preparing your property for sale, connect you with with contractors, help you create your listing, coordinate showing requests, and provide the information buyers need to evaluate the home.
Step 1 Checklist
Claim your property
Schedule contractors to conduct repairs, deep clean, stage, and take photos in order to prepare the property for sale
Upload quality photos
Write the property description
Research your market and decide on your list price
Complete seller disclosures
List the property for sale
Market the property
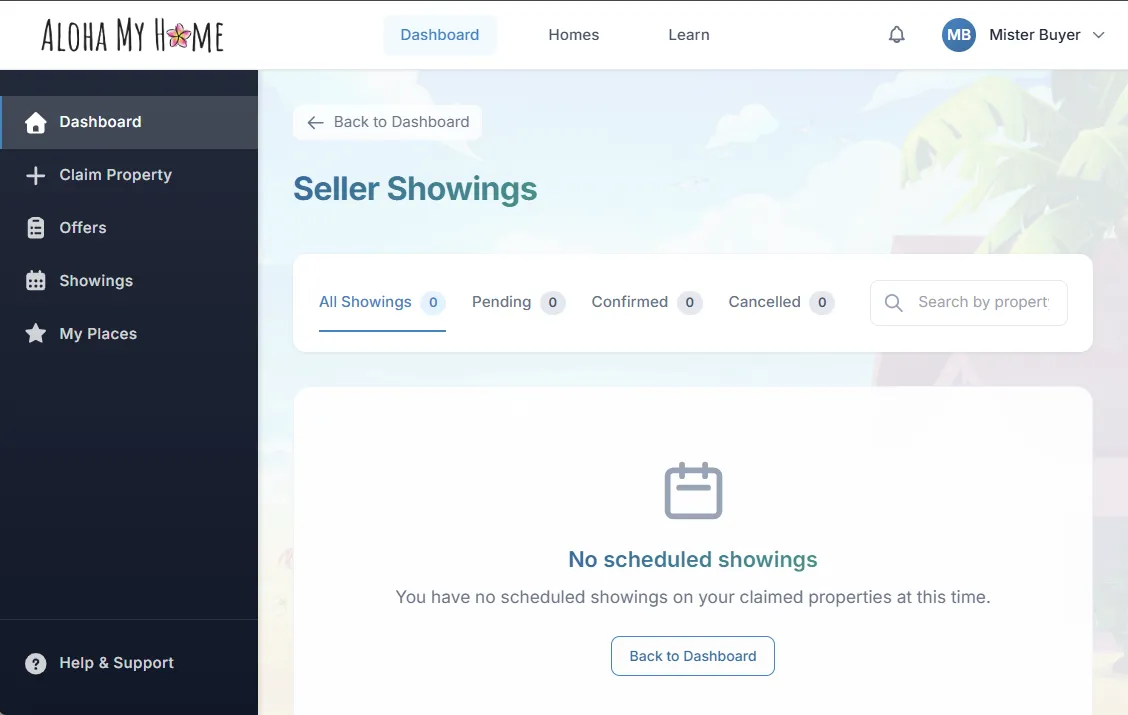
Manage showing requests
You’re ready to move on when…
You’re ready for the offer step when your property is listed, your showing availability is set, required listing information and disclosures are complete, and a buyer submits an offer.
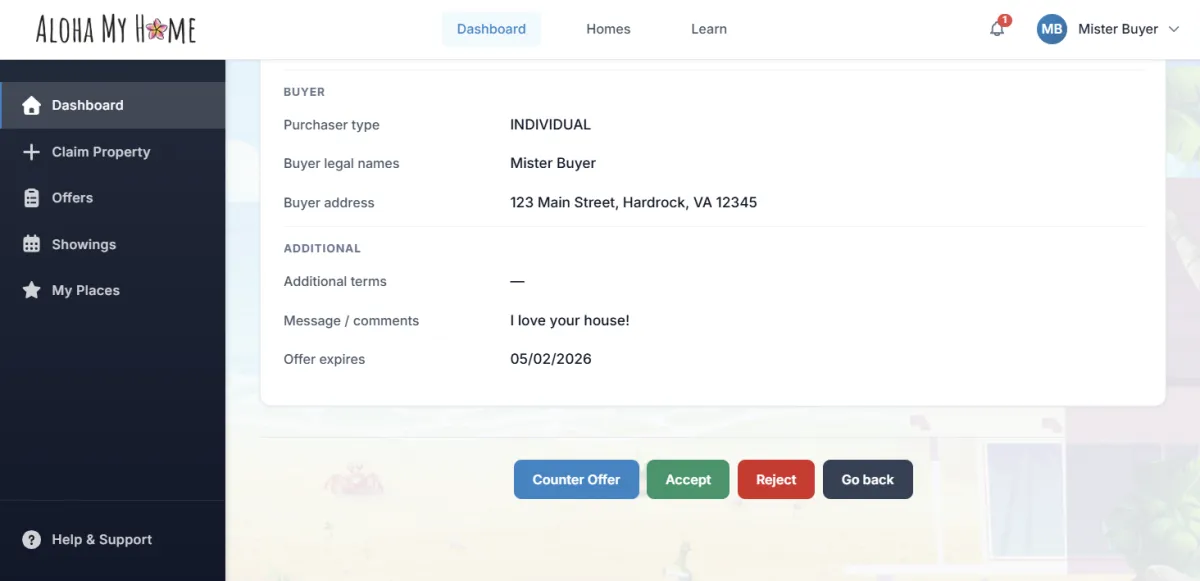
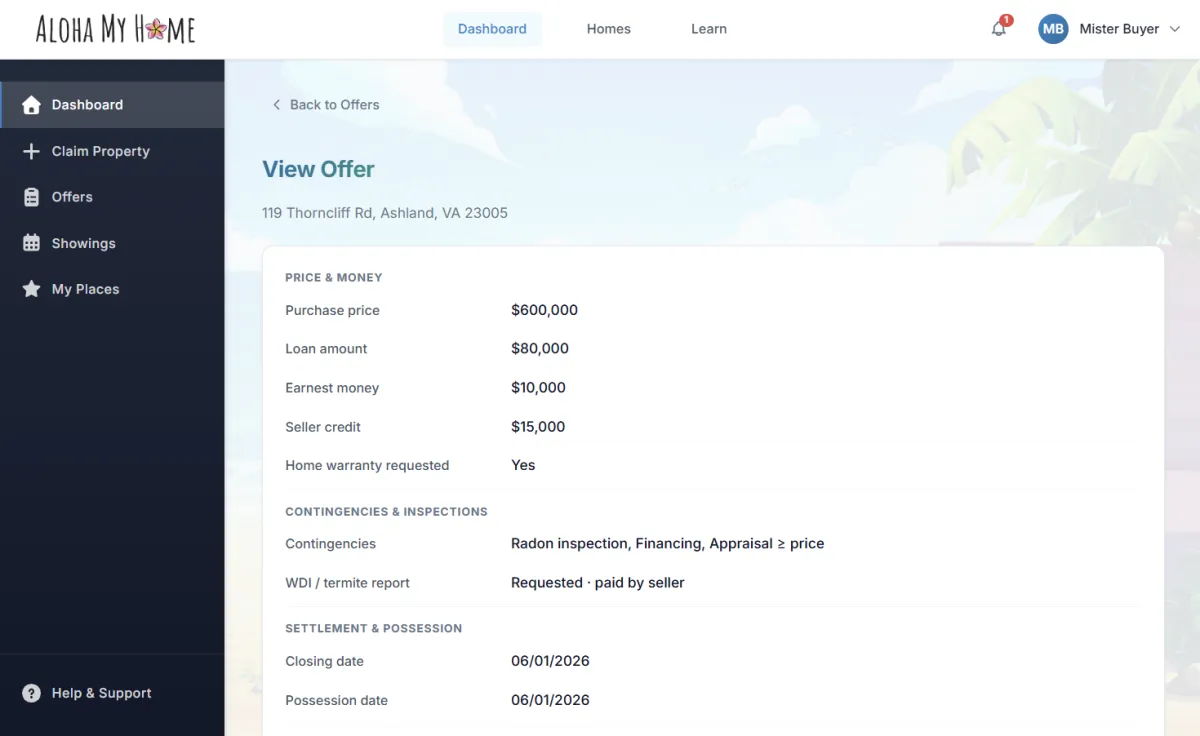
Step 2: the offer
When a buyer submits an offer, you'll review the terms, negotiate if needed, and sign electronically once both sides agree. While you're reviewing offers, consider that the offer with the highest sales price is not always the best offer. Contingencies, financing, closing timeline, settlement date, and possession terms can all affect the quality of an offer under your particular circumstances.
NOTE: Real estate offers become legally binding once signed by both parties and can even be legally binding prior to signature. Review the terms carefully before and during signing, including price, contingencies, timelines, settlement, and possession.
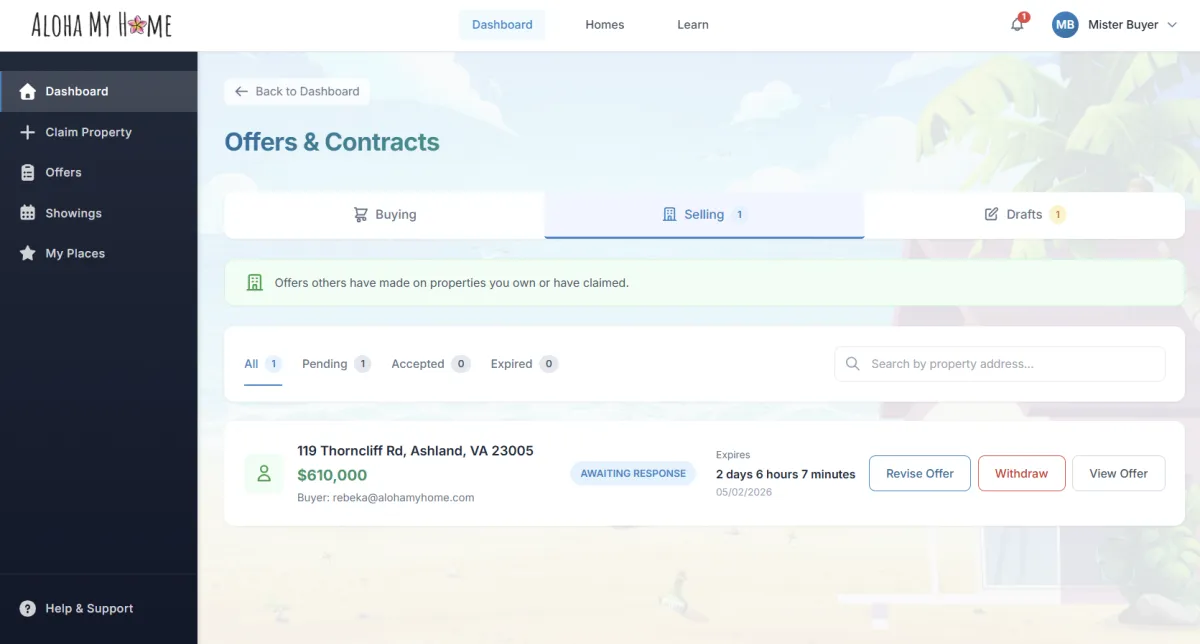
Step 2 Checklist
Review common contract terms and conditions
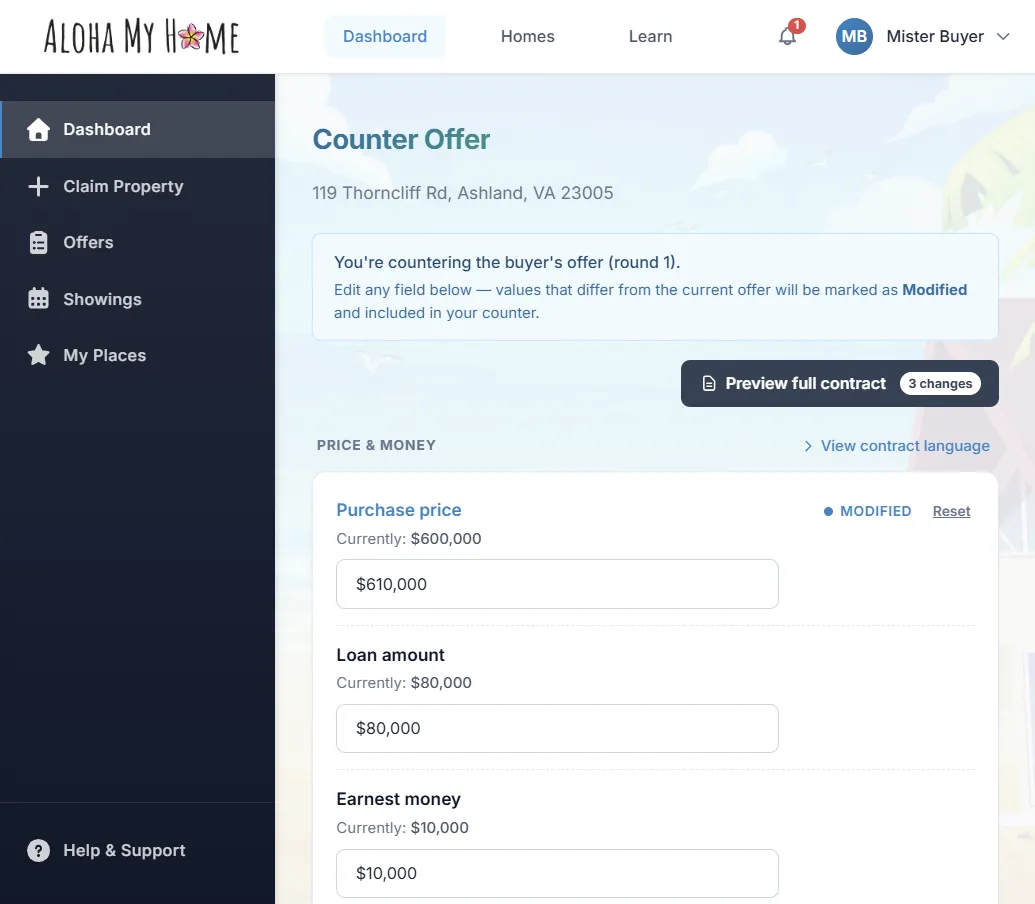
Review buyer offers or counteroffers
Negotiate terms
Sign electronically when ready
Offer Details to Review
Sales price
Earnest money deposit
Closing cost assistance
Contingencies
Property disclosures
Timelines
Title and title insurance
Settlement and Possession dates
You’re ready to move on when…
You’re ready for the next step when both buyer and seller have agreed to the terms and the offer has been signed by both parties.
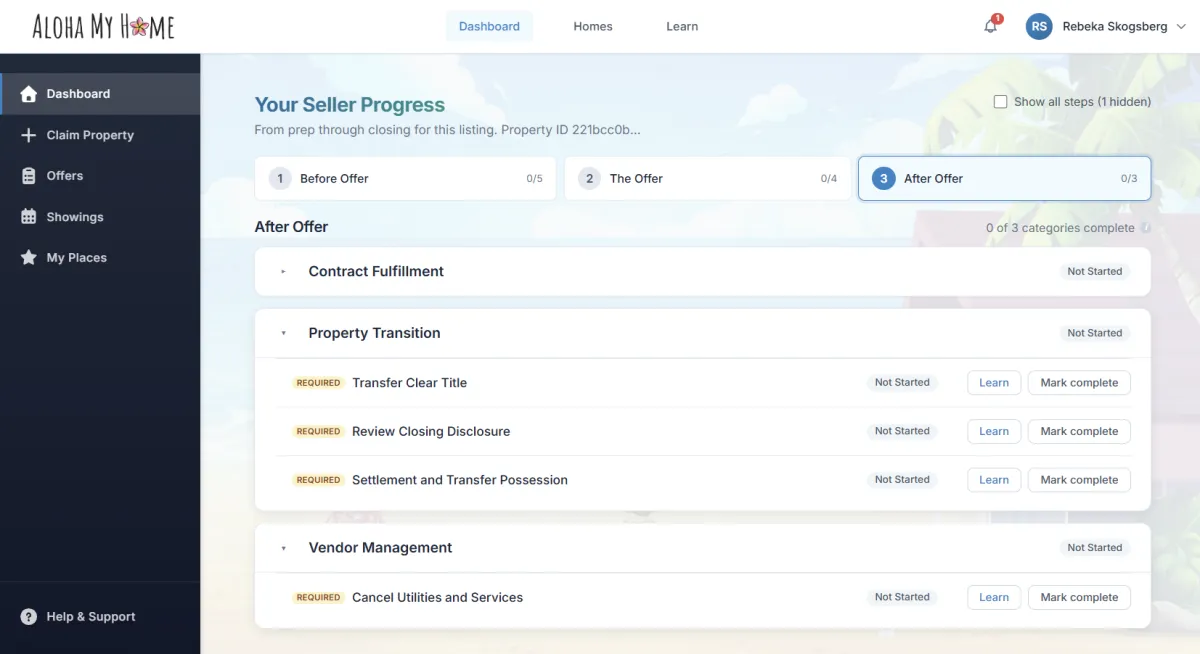
Step 3: After offer agreement
After accepting an offer, your workload will likely be lighter than the buyer’s, but you'll need to ensure contingencies are satisfied, disclosures are completed, and any request for repairs or credits for repairs are responded to in a timely manner.
Checklist
Confirm the buyer’s earnest money deposit is submitted
Monitor contingency deadlines
Respond to inspection or repair requests if applicable
Work through title requirements, including transferring a clear title
Cancel or transfer utilities and services
Review closing disclosure when applicable
Coordinate settlement
Transfer possession according to the contract
You’re done when…
You’re done when settlement is complete, required documents are signed, possession is transferred according to the contract, and your final seller tasks are complete.
You asked, we're answering
Frequently Asked Questions
Is there anything I need to do to schedule a showing?
For safety purposes, you'll need to verify your identity through ID.me on our website.
Is there anything I need to do before making an offer?
Buyers should either have a pre-qualification letter, a pre-approval letter, or have Proof of Funds (when paying with cash) to demonstrate financial means to sellers before making an offer.
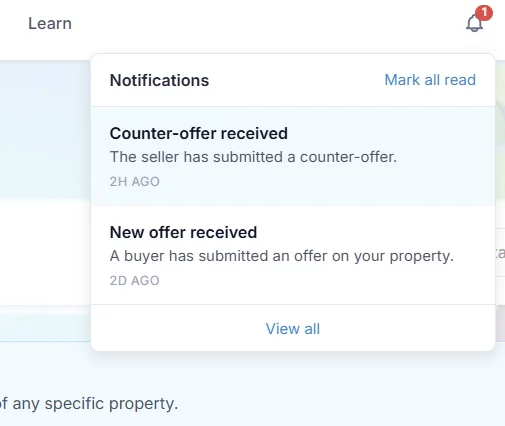
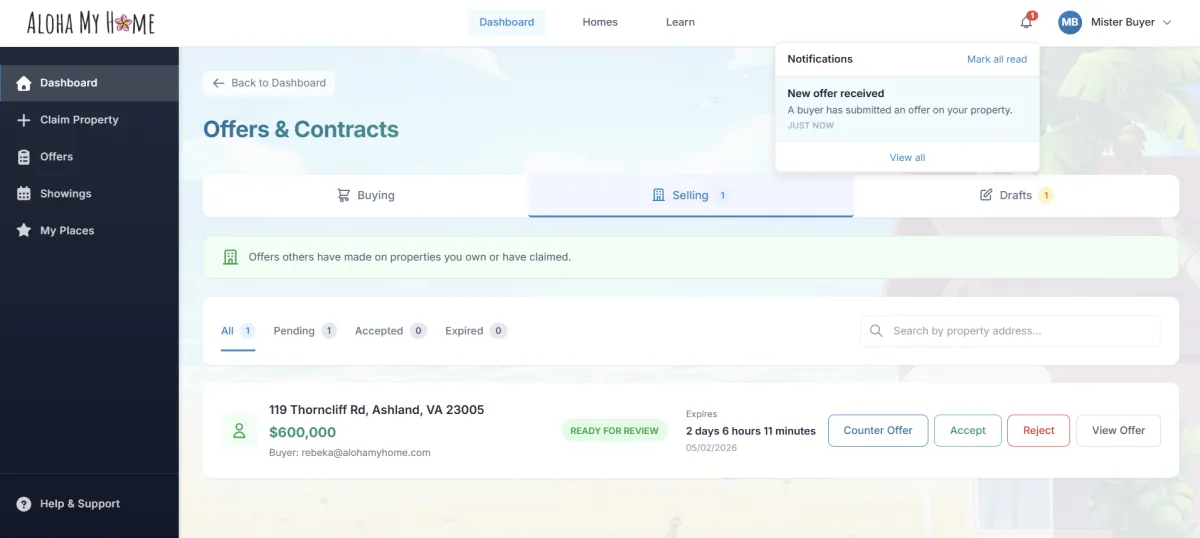
What happens after I submit an offer?
The seller can review the offer, respond, accept, reject, or counter until the expiration date. Once both sides agree on the terms and conditions, each party will be sent a contract for signature, at which point the transaction will move into Step 3: After Offer Acceptance.
RISK-FREE REGISTRATION
Ready to see what selling with Aloha My Home is like?
Create your listing, schedule showings, review offers, and keep post-acceptance tasks visible from one organized place. Claim your property to get started!

COMPANY
CUSTOMER CARE
LEGAL
Copyright © 2026. Aloha My Home. All Rights Reserved.